Respray Prep Work: Sanding, Filler and Primer Explained
Ask any experienced painter what makes a great respray and they’ll give the same answer: prep. Most of the time on a respray goes into the work done before colour is sprayed, and it’s where cheap jobs cut corners. Here’s what proper prep looks like at our workshop, and why it matters for any Singapore car spray paint job.
Step 1: Assess and clean
Every panel is inspected for dents, scratches, stone chips, rust and old repairs. The car is then washed and degreased to remove wax, silicone and road grime. Any contamination left on the surface can stop new paint from bonding, or cause defects like “fish eyes”.
Step 2: Sanding
Sanding does two jobs:
- It removes damage: scratches, peeling clear coat and failing paint are taken back to a sound layer.
- It gives the new paint something to grip: sound original paint is scuffed so the new layers bond mechanically.
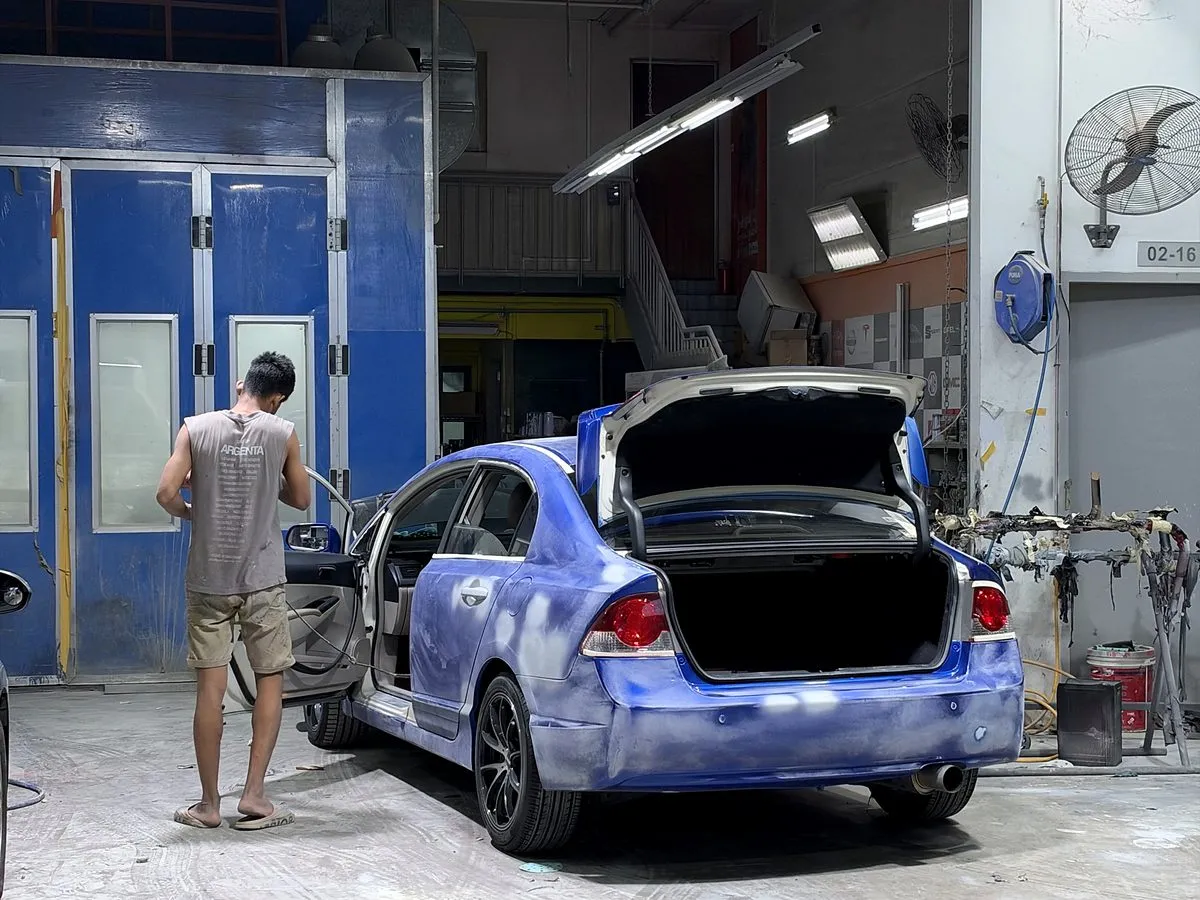
Painters work through progressively finer grits, from coarser abrasives for shaping to fine ones for a smooth finish before primer.
Step 3: Body filler, used properly
Small dents and low spots that can’t be fully pushed out are filled with body filler (putty). Done properly:
- the metal is straightened as much as possible first, so filler is a thin skim, not a thick lump;
- filler is applied to clean, sanded metal;
- it’s shaped and block-sanded to follow the exact contour of the panel.
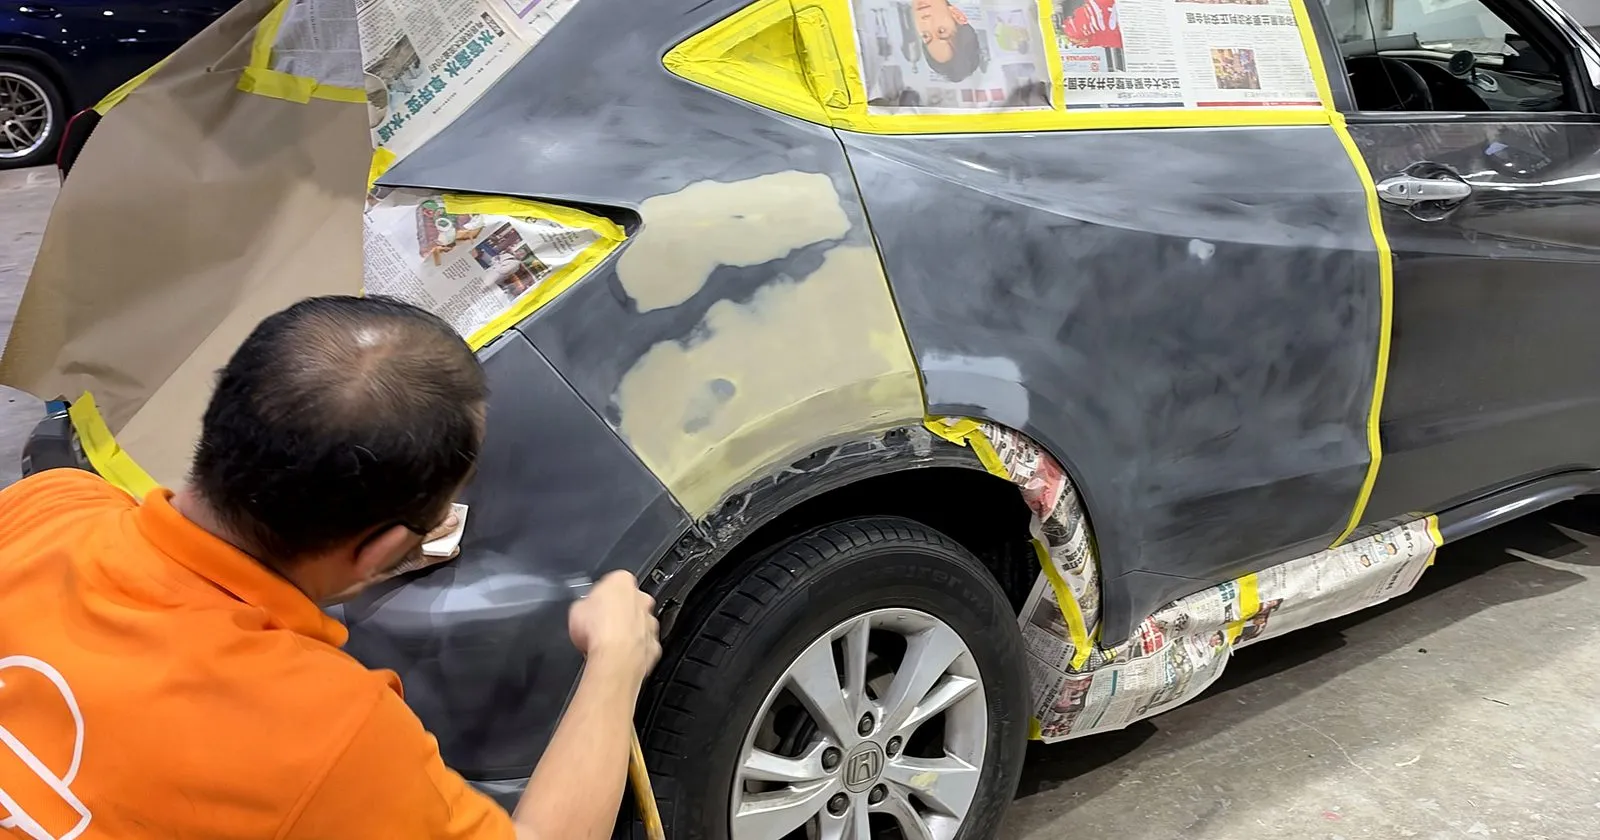
The yellow patches in the photo at the top of this page are filler on a Honda Vezel’s rear quarter panel, being sanded smooth to match the shape of the car.
Step 4: Primer
Primer goes over repaired areas and bare metal. It:
- protects bare metal from rust;
- seals filler so it doesn’t absorb paint;
- fills fine sanding scratches;
- creates an even, uniform base so the colour looks consistent.
Primer is then sanded smooth again. Under bright light, painters look for any waves or marks, because once the gloss of clear coat goes on, every imperfection becomes visible.
Step 5: Final clean and masking
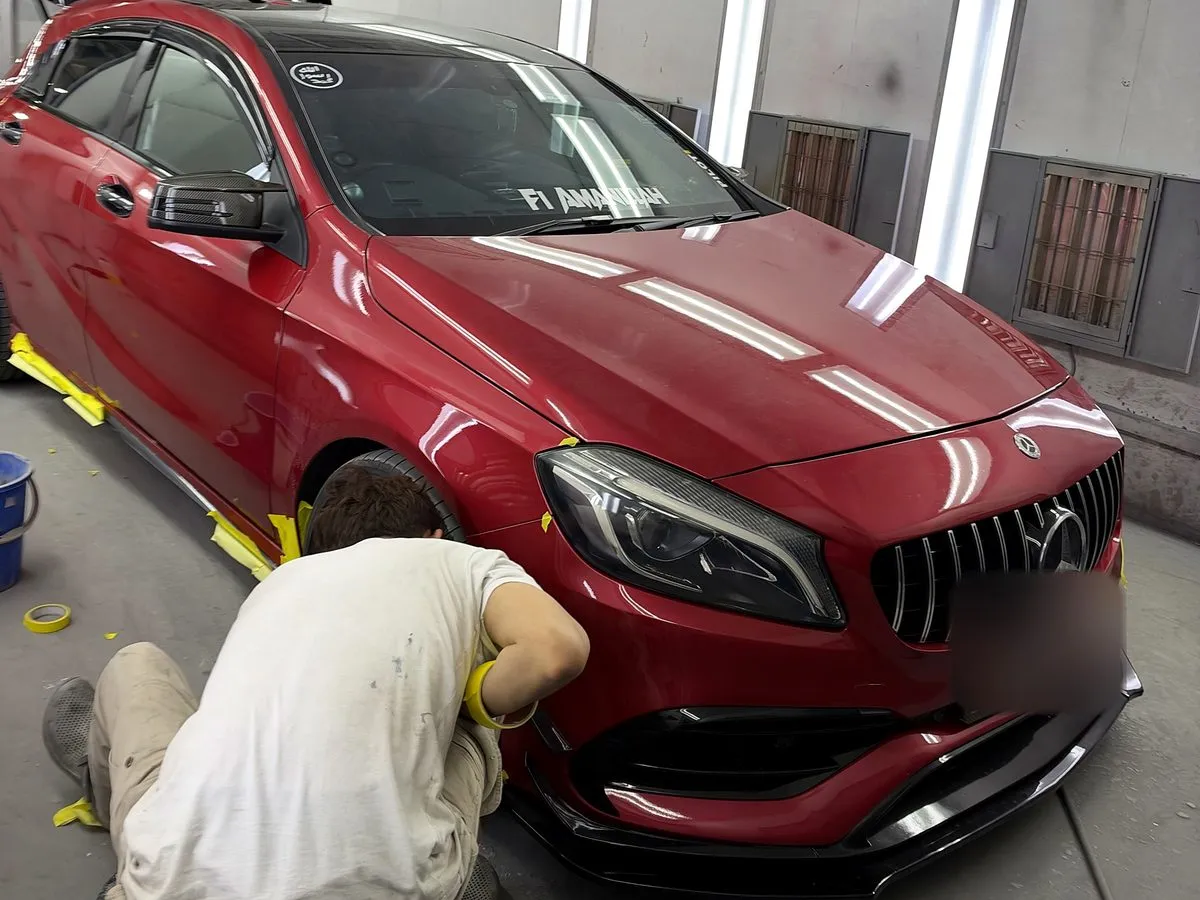
Before the car goes into the spray booth, it’s blown down, wiped with panel cleaner and tack-cloth wiped to remove every speck of dust. Then it’s masked so paint only lands where it should.
Why cheap resprays fail
When a respray peels, bubbles or shows sanding marks within a year or two, the cause is almost always poor prep:
- painting over contamination or old, failing paint;
- thick filler over unstraightened metal;
- skipping primer or not sanding it smooth;
- not giving each layer enough time to dry.
Prep is part of every job we do
Whether it’s a bumper repair or a full colour change, prep is never rushed. Read how we respray a car for the full process, or WhatsApp us a photo for a free quote. You can also request a quote here.